
ICE FIRST EDITION INSERT
Are you the owner of the ICE First Edition, and the new ICE Conversion Kit? We have a number of ways to store all of the content for you, including STL files for those of you that may own a 3D printer! These insert files were designed by Pablo Royo, and are free to download.
Storage options depend on a number of variable factors: Whether you plan on keeping the First Edition Content or want to replace it entirely with the new stuff, and whether you also got the Collector Guild Boards add-on. Some of you may have supported us during the ICE Limited Campaign, in which case you may have the Guild Favors display board as well. We even have additonal trays you can print to store RELICS content. We have options for all possibilities!
STORING FIRST EDITION CONTENT
Unfortunately the First Edition box (whether Standard or Collector) is simply not big enough to store ALL of v1 and v2 content. So if you plan to keep the v1 content, make sure to store it in the ICE Conversion Kit box, or another suitable container. Please make sure to reference the Conversion Kit page to see which v1 content you will still need to keep, even when playing the Second Edition experience!
3D PRINTER OWNERS
We have a number of different files you can download to print your very own insert for your First Edition Box! These insert files are for those of you that plan to replace the First Edition content entirely with the new Second Edition gameplay. You can find the files here:
For Large 3D Printers: Print the “I C E Insert 1st Edition – Full tray” stl file
For Smaller 3D Printers: Print the four different sections (Top Left, Top Right, Bottom Left, Bottom Right). Once all printed, connect the pieces together using the puzzle connections.
For ALL Printers: Print the modular parts (Curse Tokens tray, RP Tokens tray, Study Tokens tray). These can be taken out of the main insert and placed on the table.
RELICS Owners: We have the final files to store all the Relics components! Both files should be printed.
Choose whatever color filaments you want for your insert parts! (The insert designer used scrap white/blue that he had for his tests, shown below).
HOW TO STORE COMPONENTS IN THE INSERT
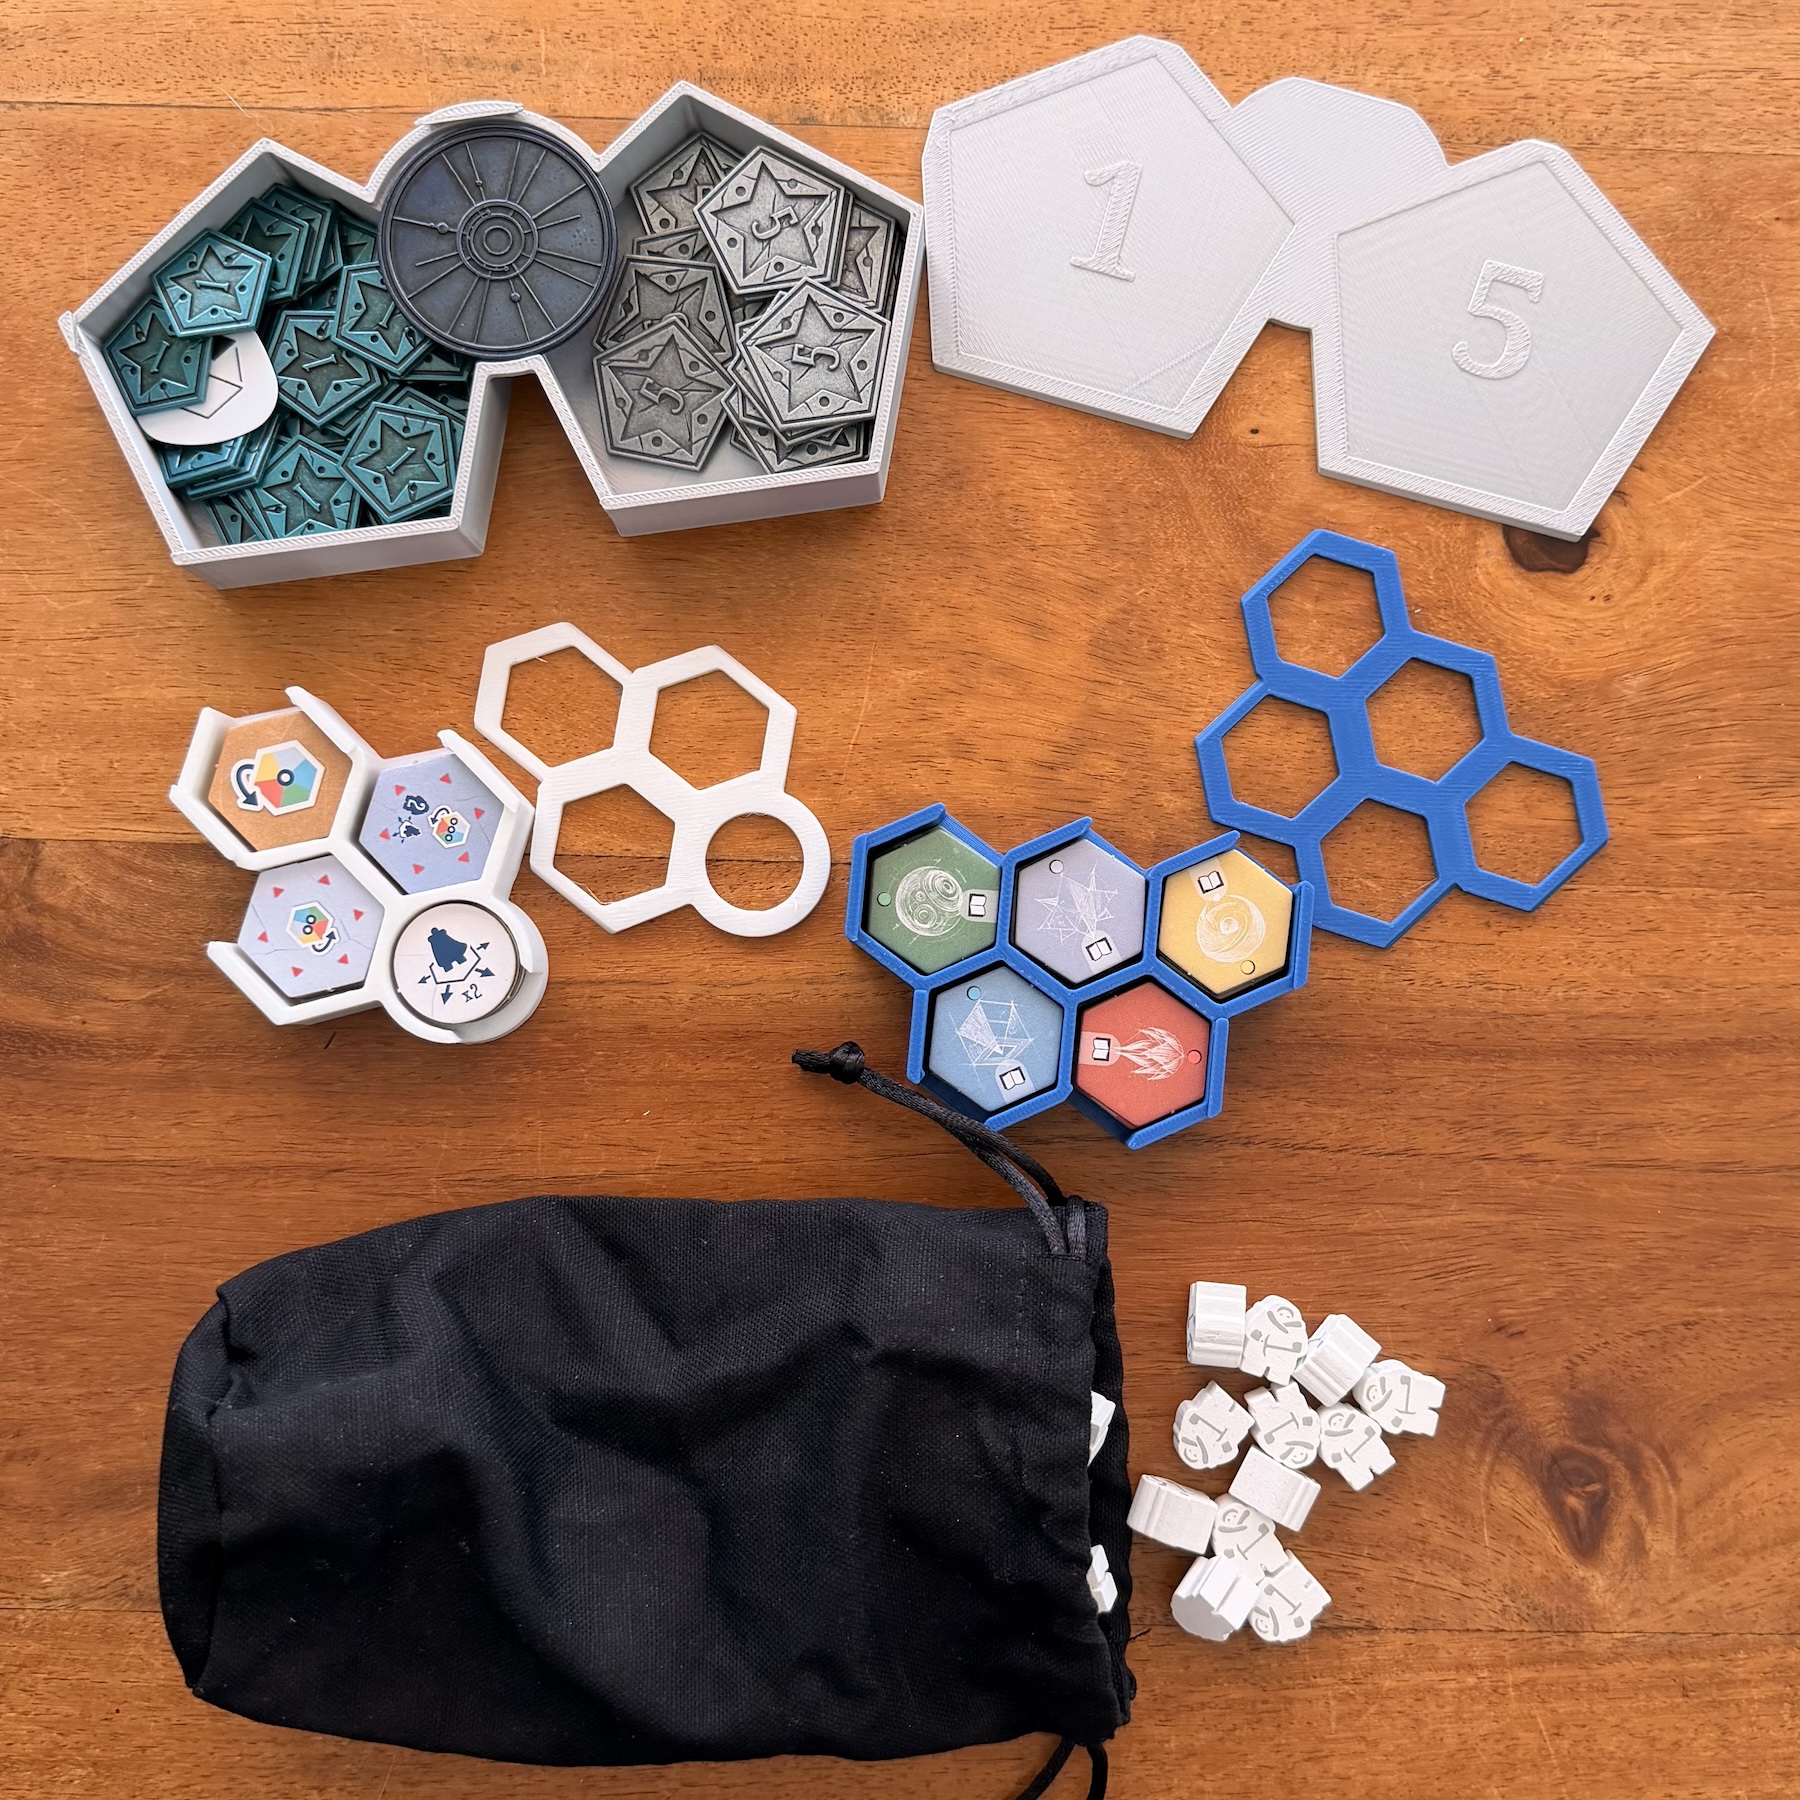
First, in the modular trays, store all the RP tokens, the First Player marker, the Curse tokens, the Fluent Move tokens, and Study tokens as shown. Use whatever color filament you like. Fill your small black cloth bag with all the Archaeologists!
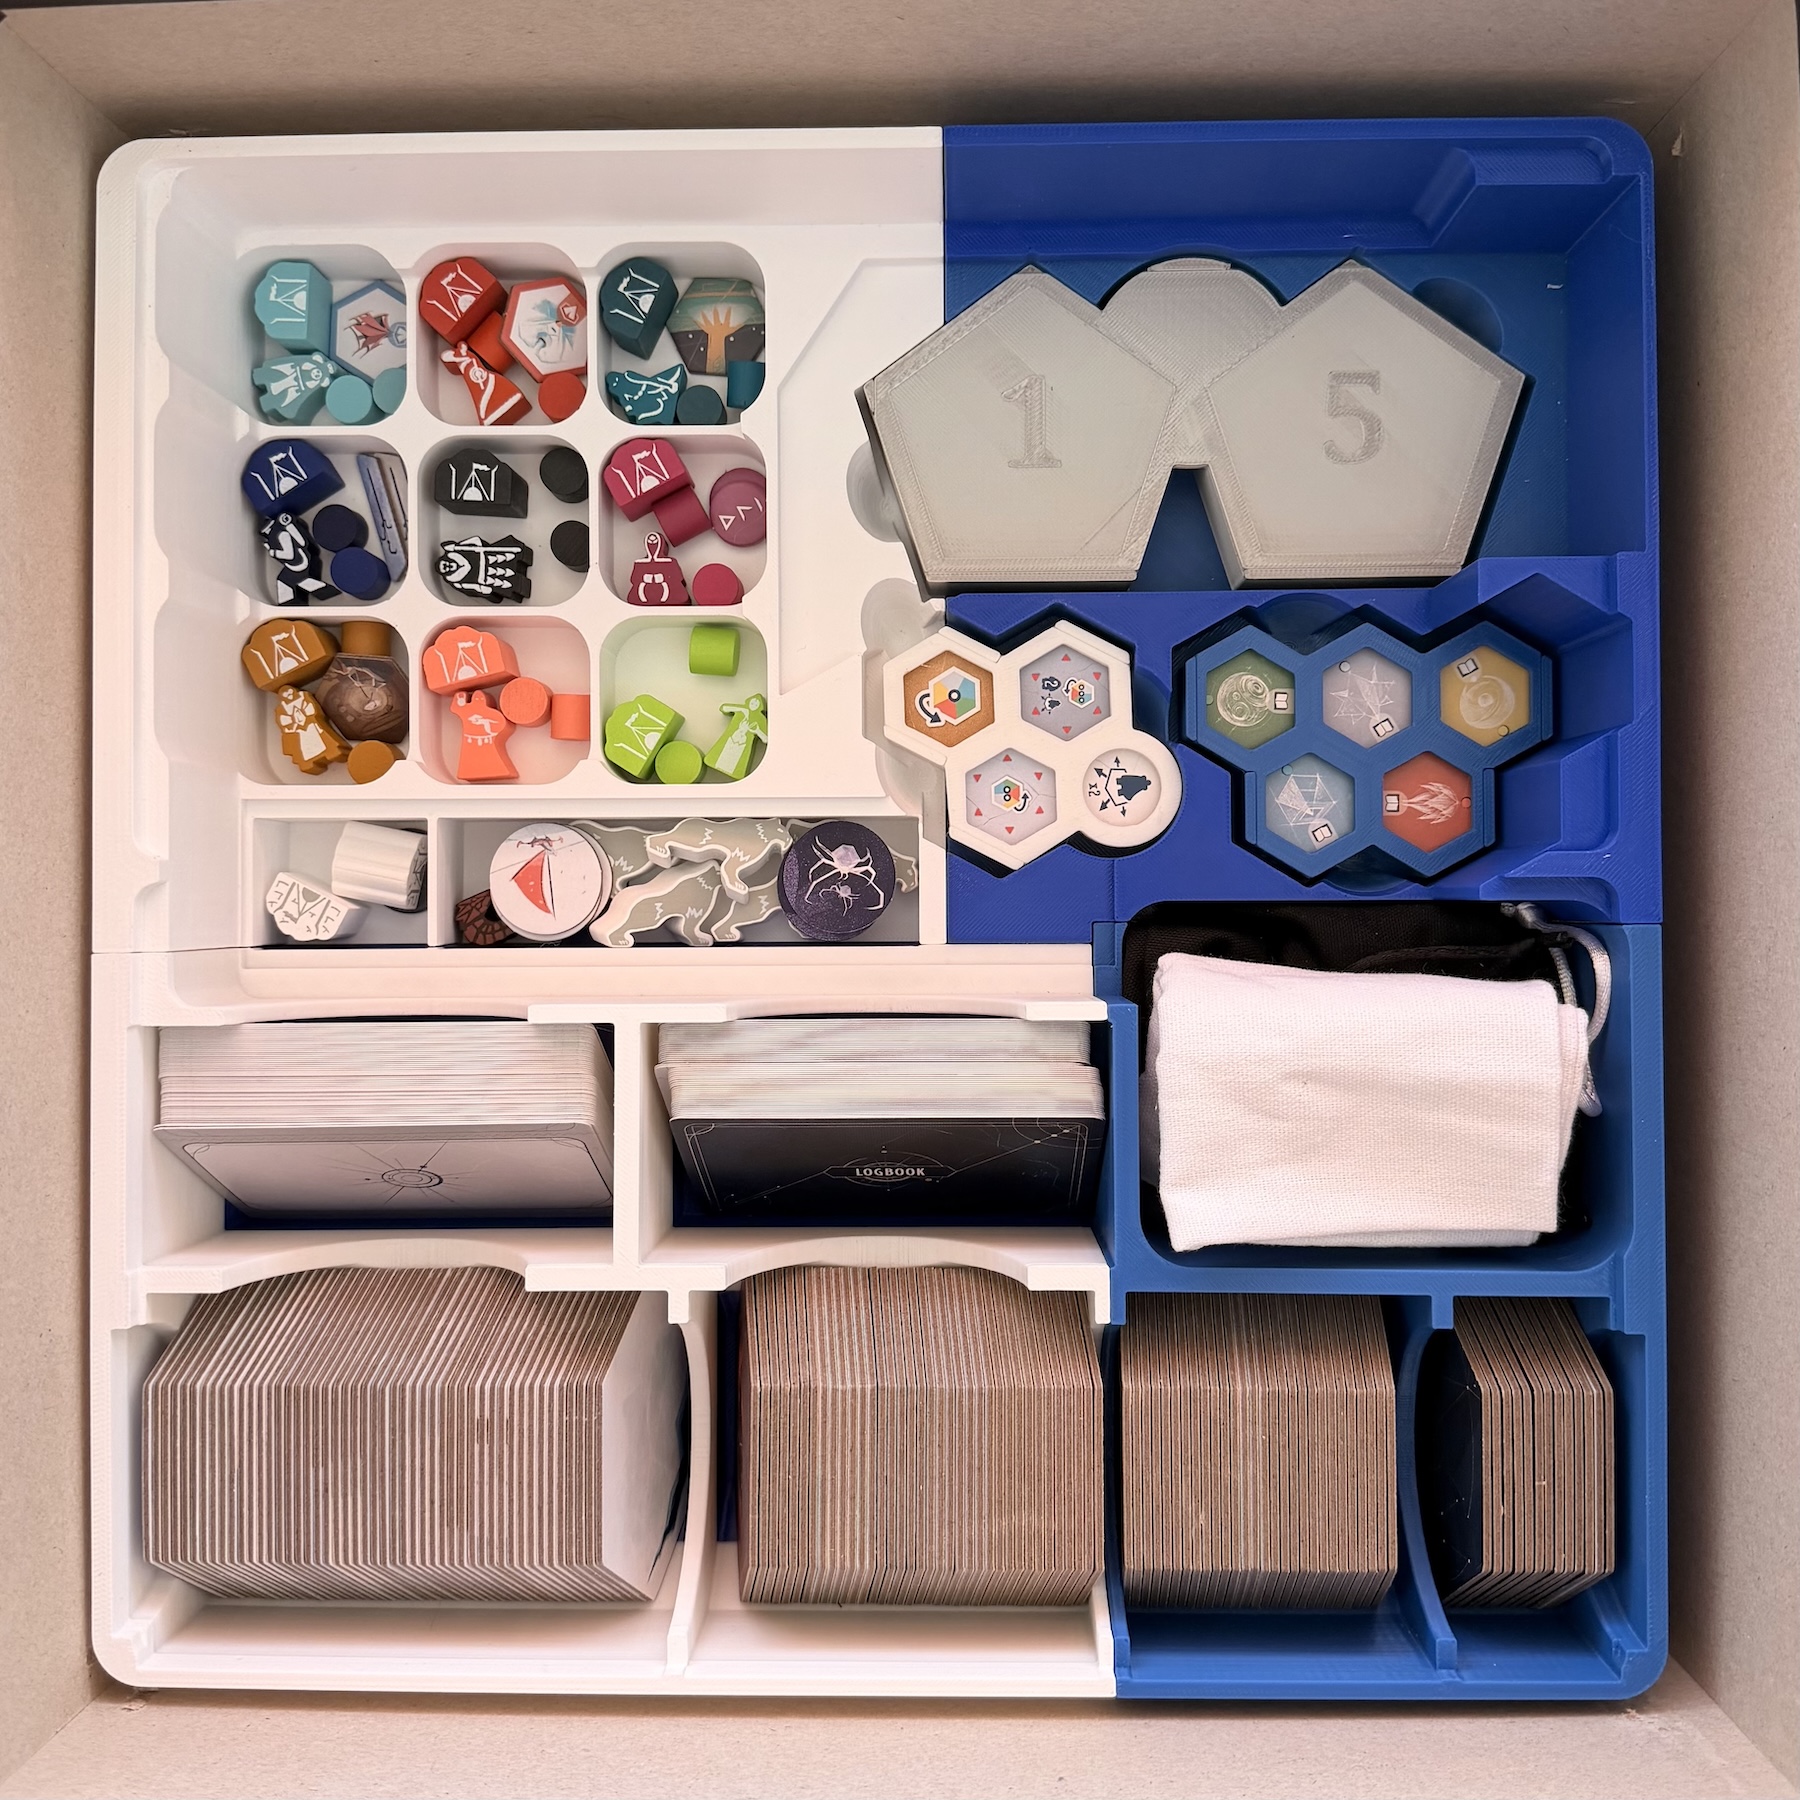
The bottom main tray (the 4-part version for small printers is shown here) consists of all the Expedtion Leaders, Camps, Player markers and Guild tokens (top left). Below that are spaces for the neutral Camps, Wurm and Smilodon tokens, plus the new Expedition tokens. On the upper right, add the filled modular token trays, and below that add the two cloth bags. Next are spaces for the cards (all Requests in one space, and all other cards in another. Note they are stored vertically, and yes – there is space for sleeved cards!). Finally, on the bottom add the new tiles from the Conversion Kit: Snow tiles, Surface Artifacts, and Deep Artifacts. On the bottom right, add the original v1 Edifice tiles (This is only if you are using the new Expeditions gameplay from the EDIFICES & GUILDS expansion).
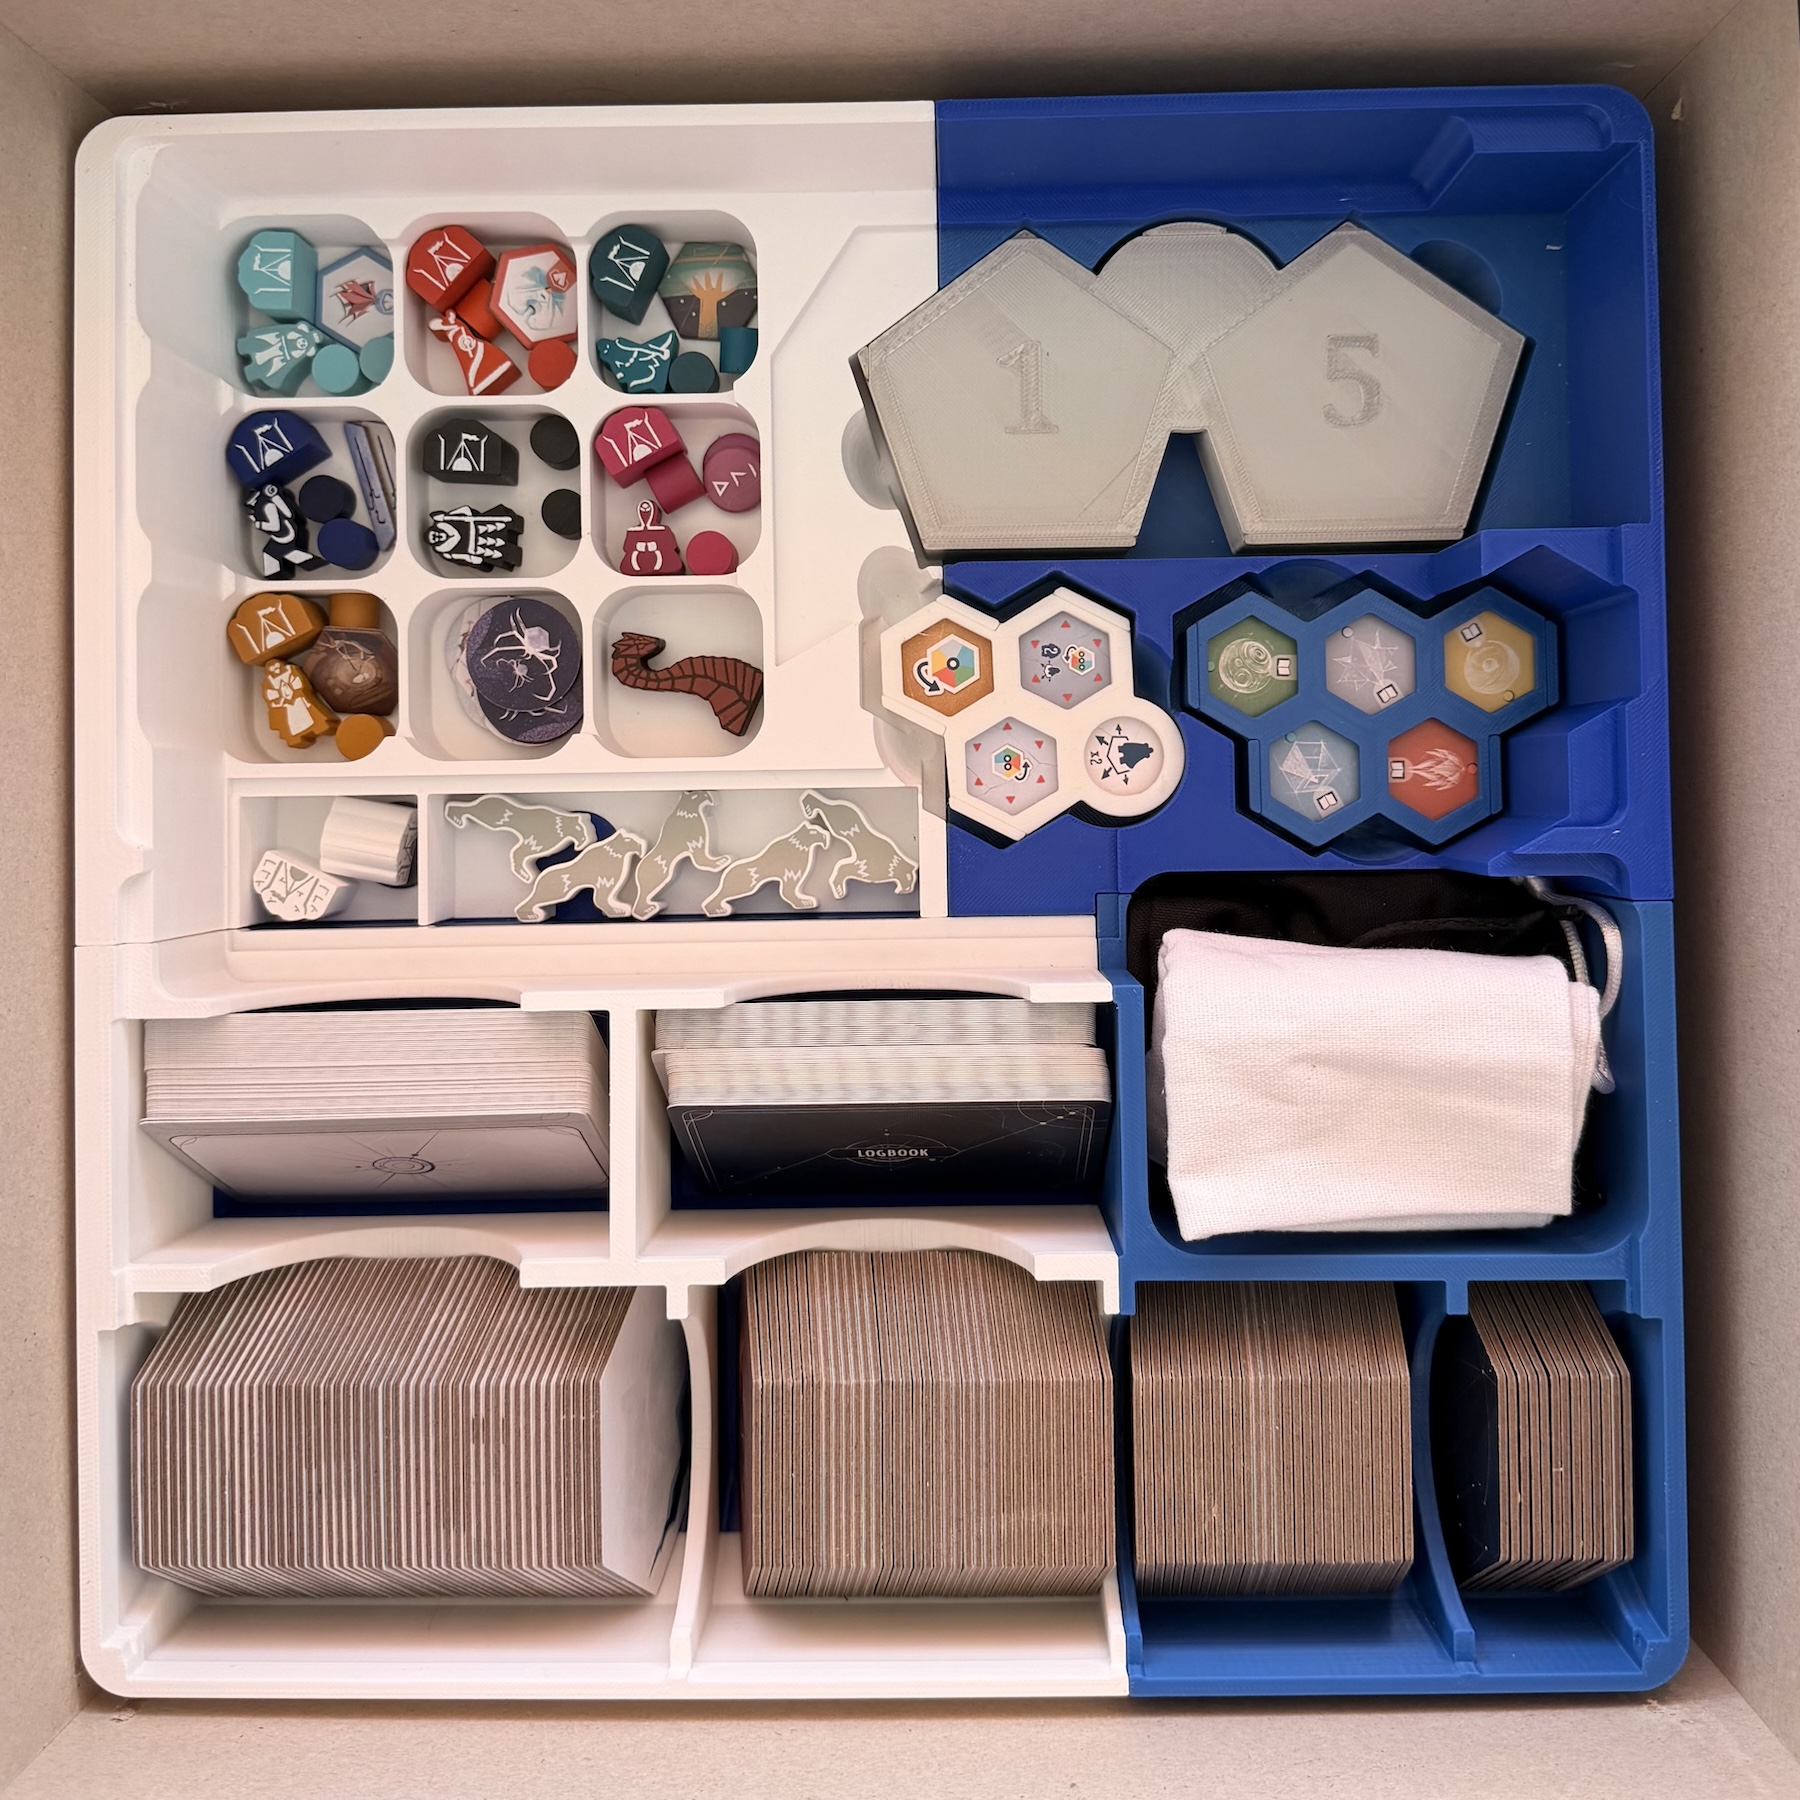
The previous image showed how to store everything, including if you have Expedition Leader content from the RELICS expansion. But if you don’t have RELICS, here’s an alternate way you can store stuff.
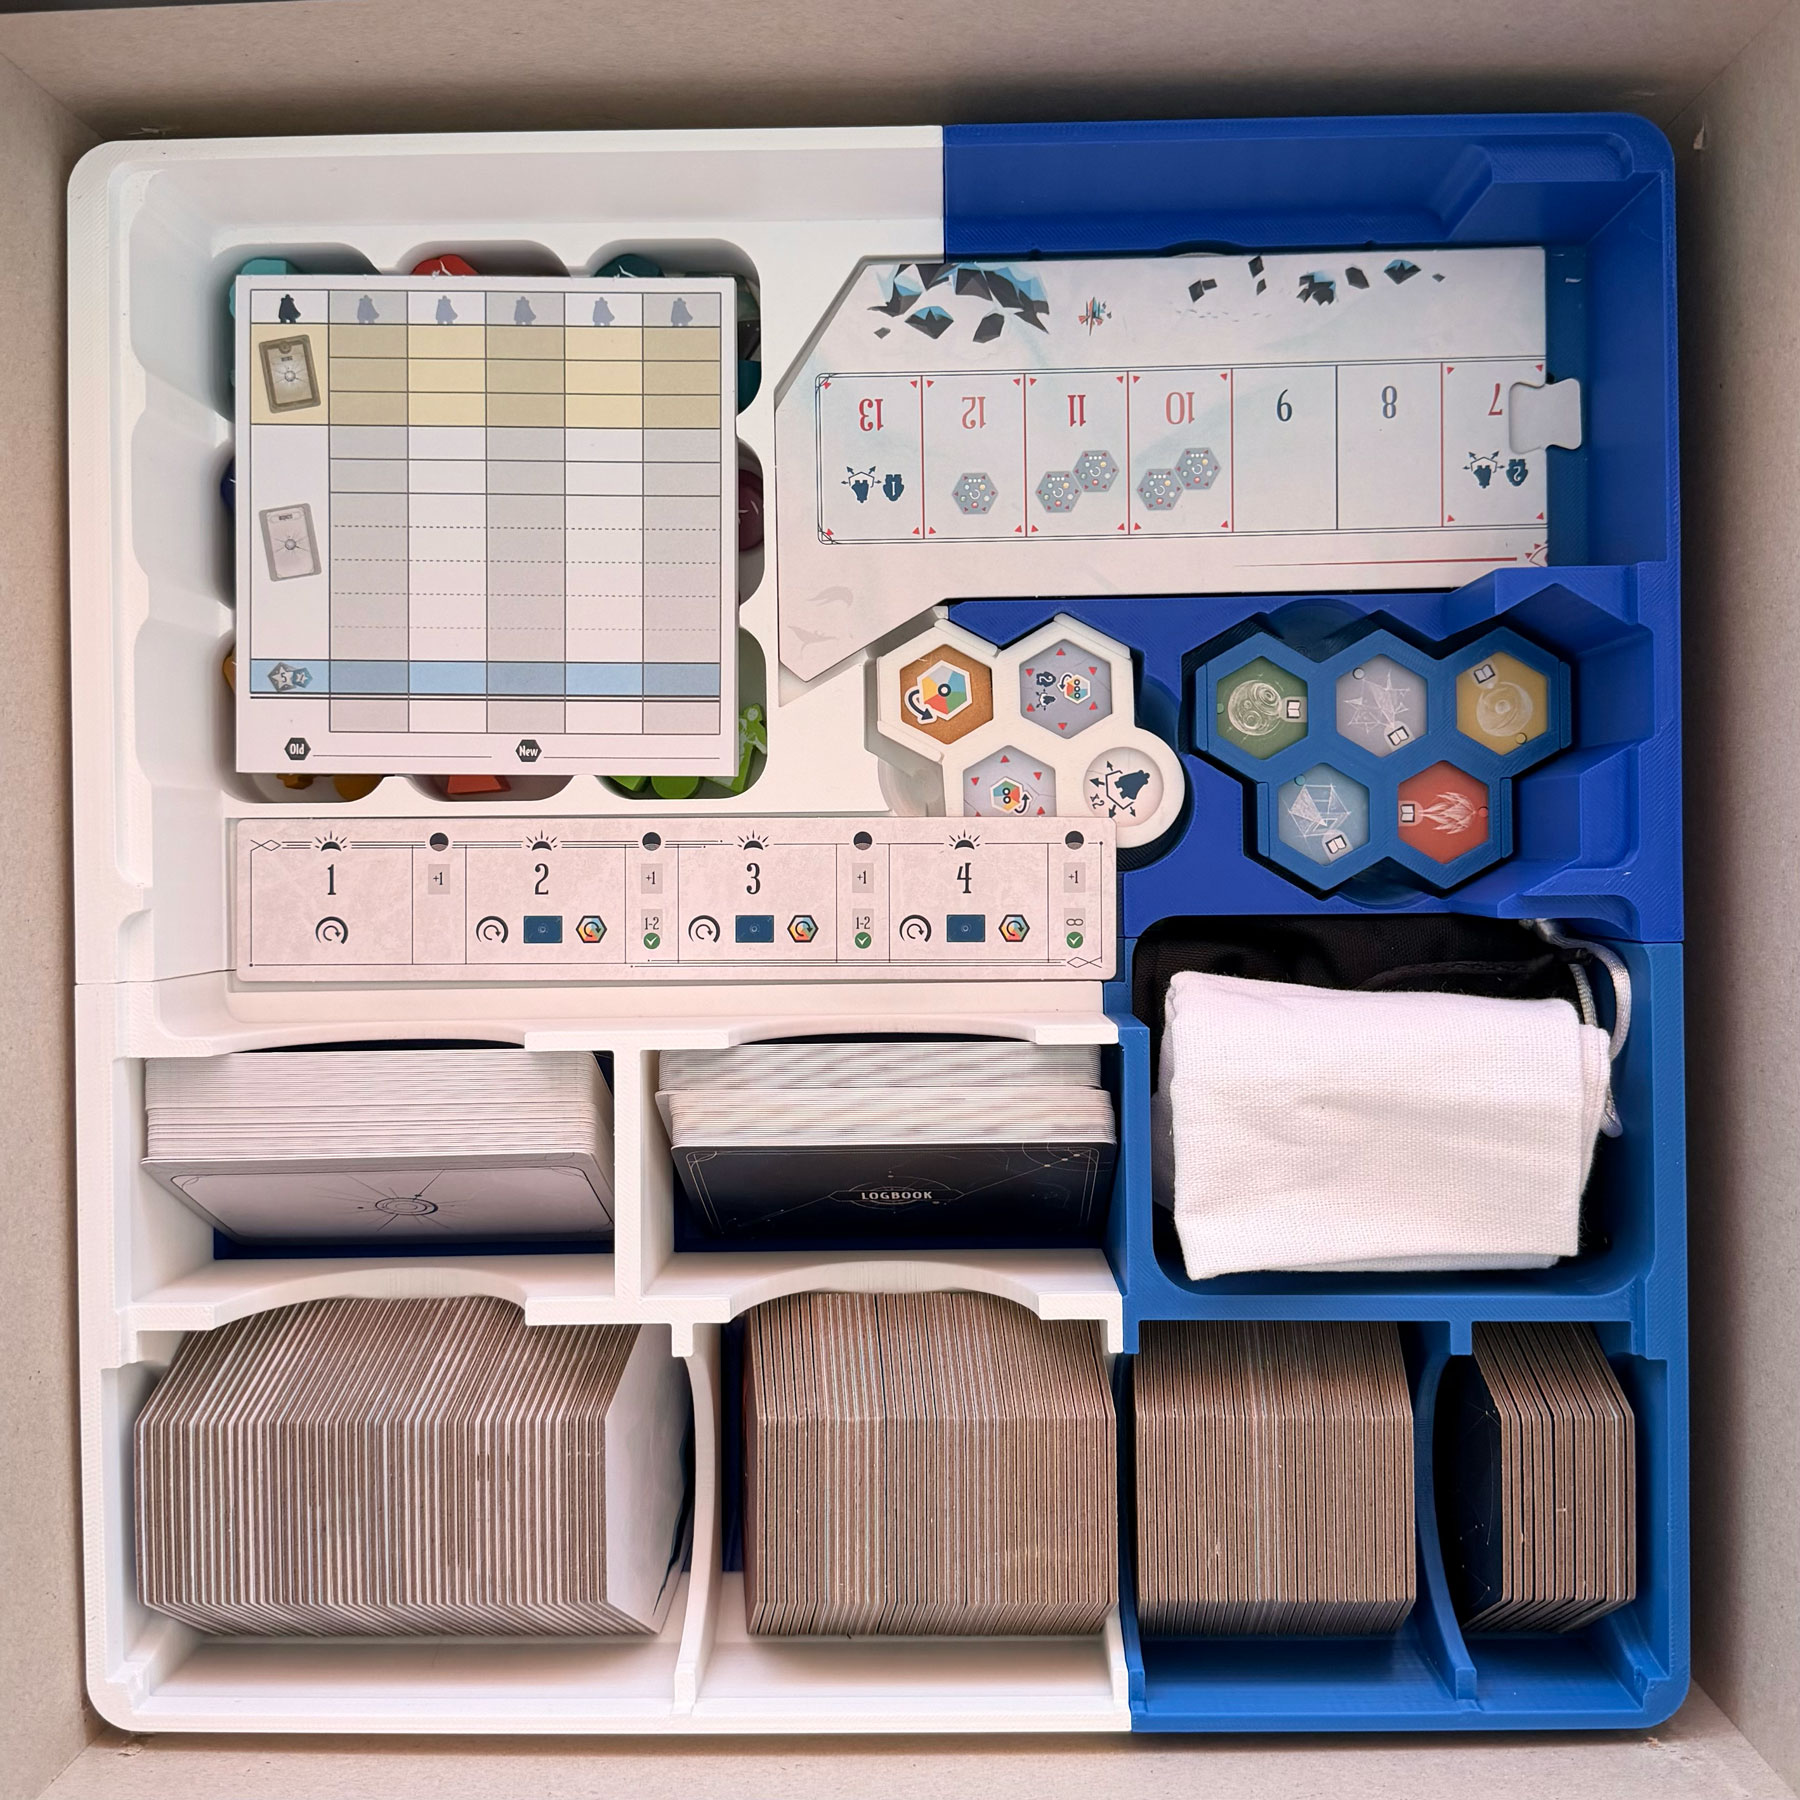
Next, you’ll see that the v1 scorepad fits perfectly above the meeples. The new Curse track fits neatly above the RP token tray, while the new Day track goes above the Smilodons.
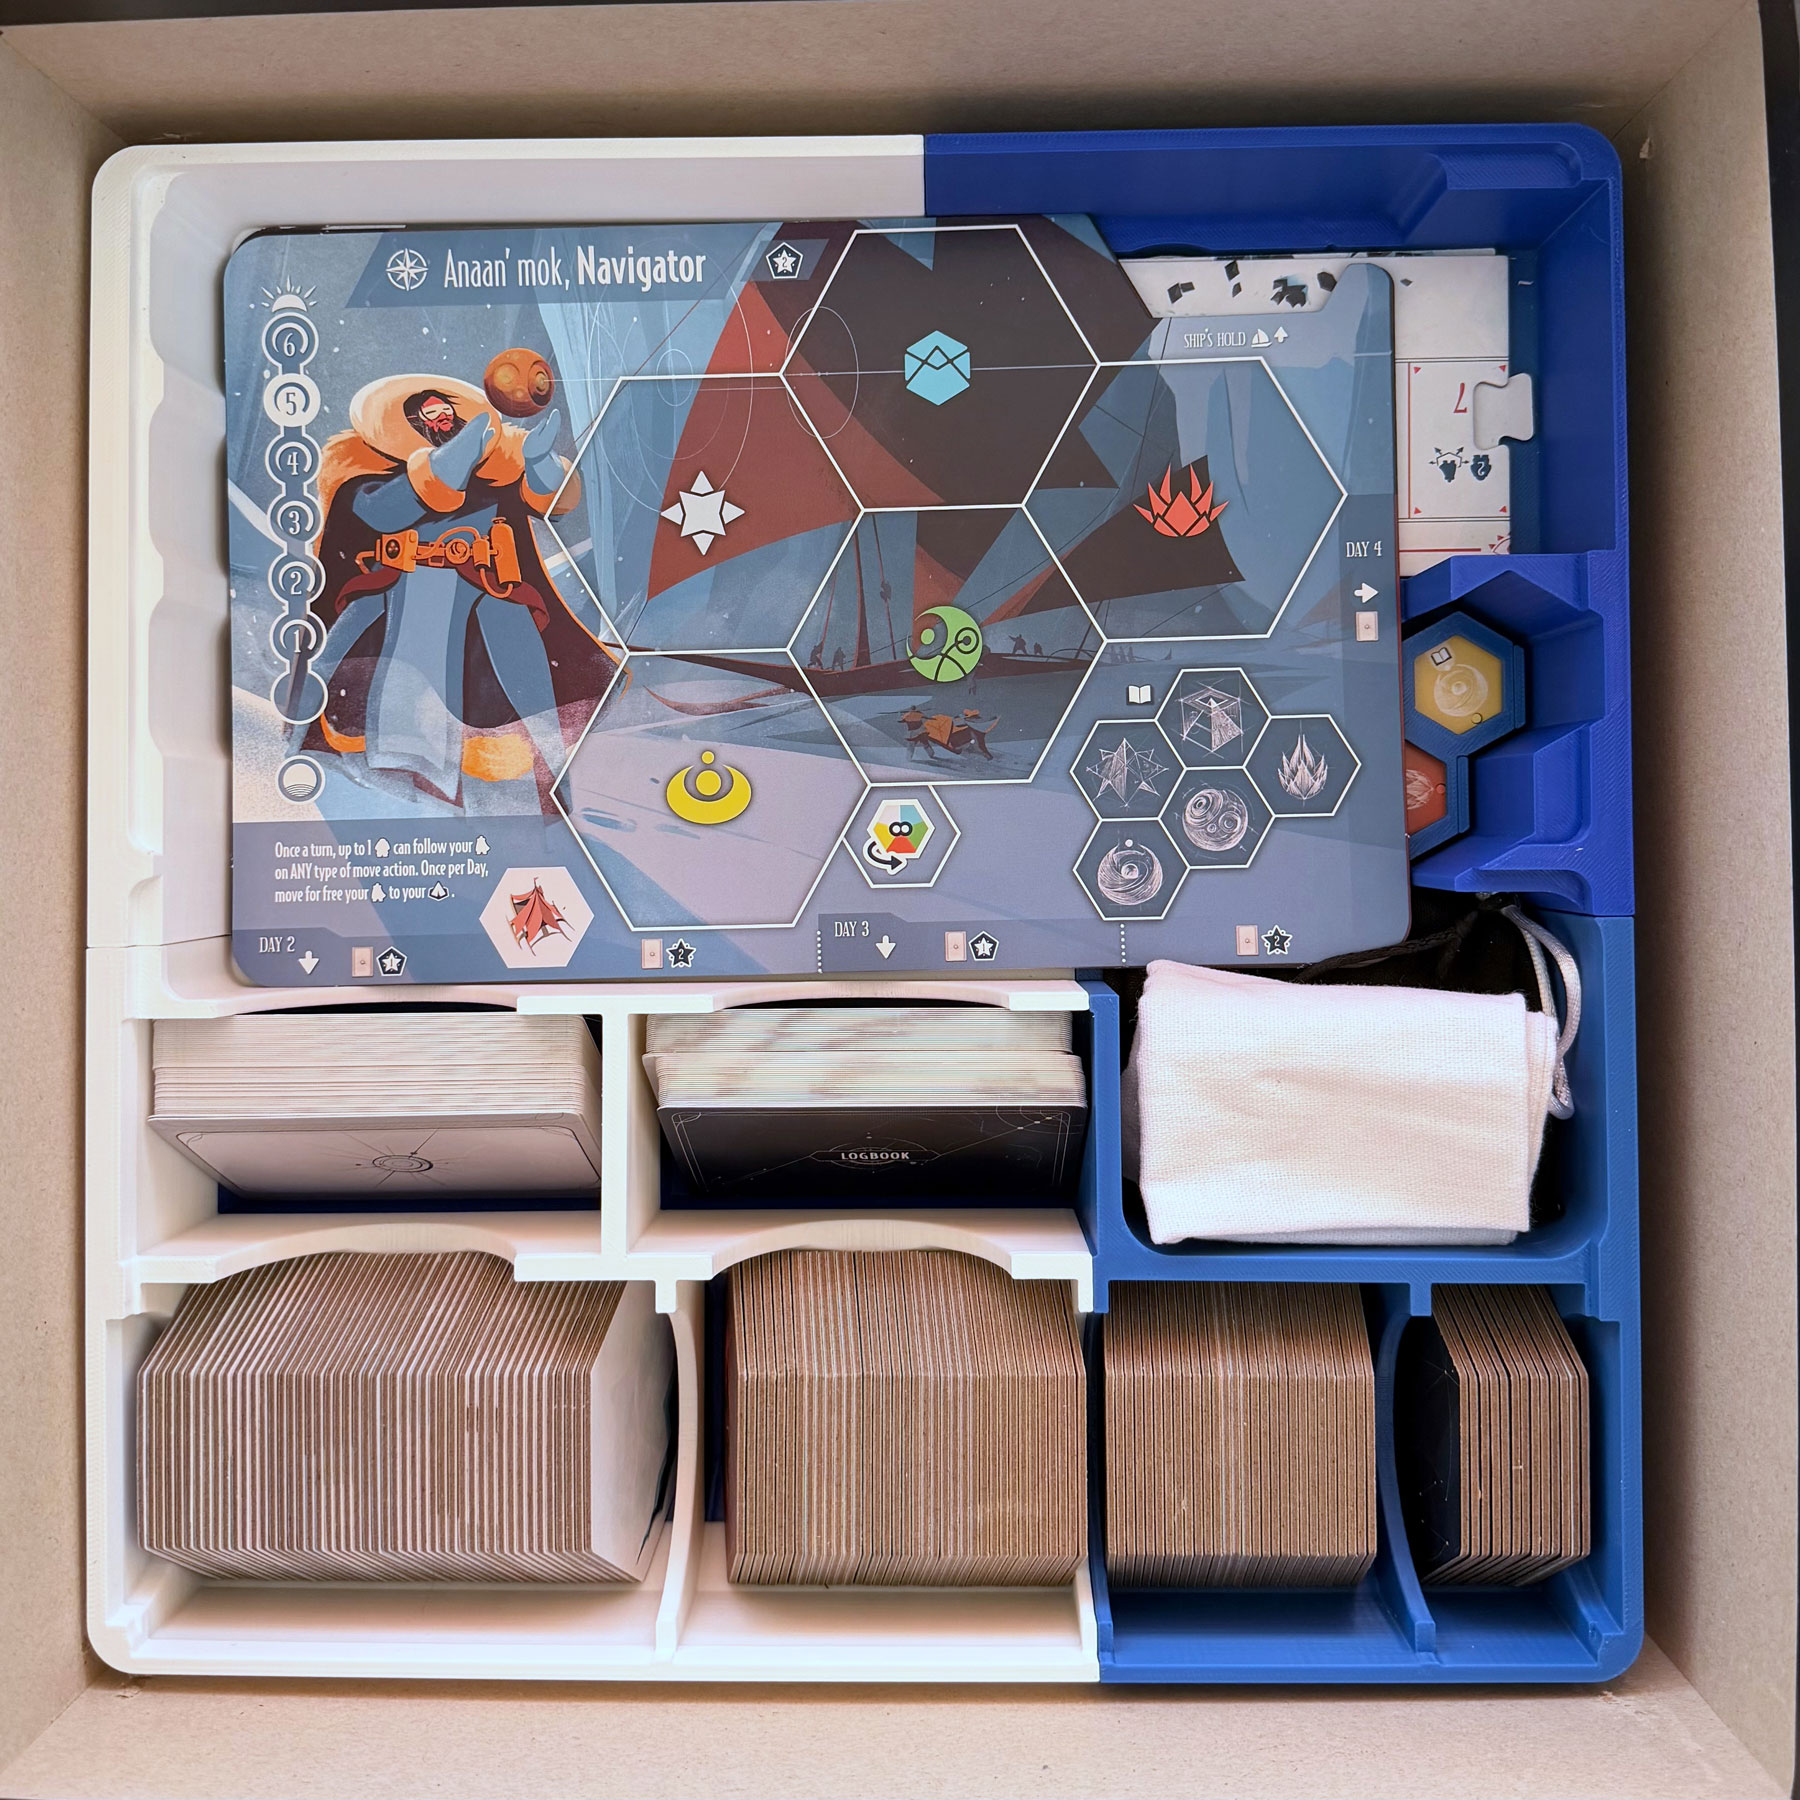
Next, place the Guild Boards. Shown here are the Guild “sheets” included in the Kit. Please note this will leave a lot of empty space.
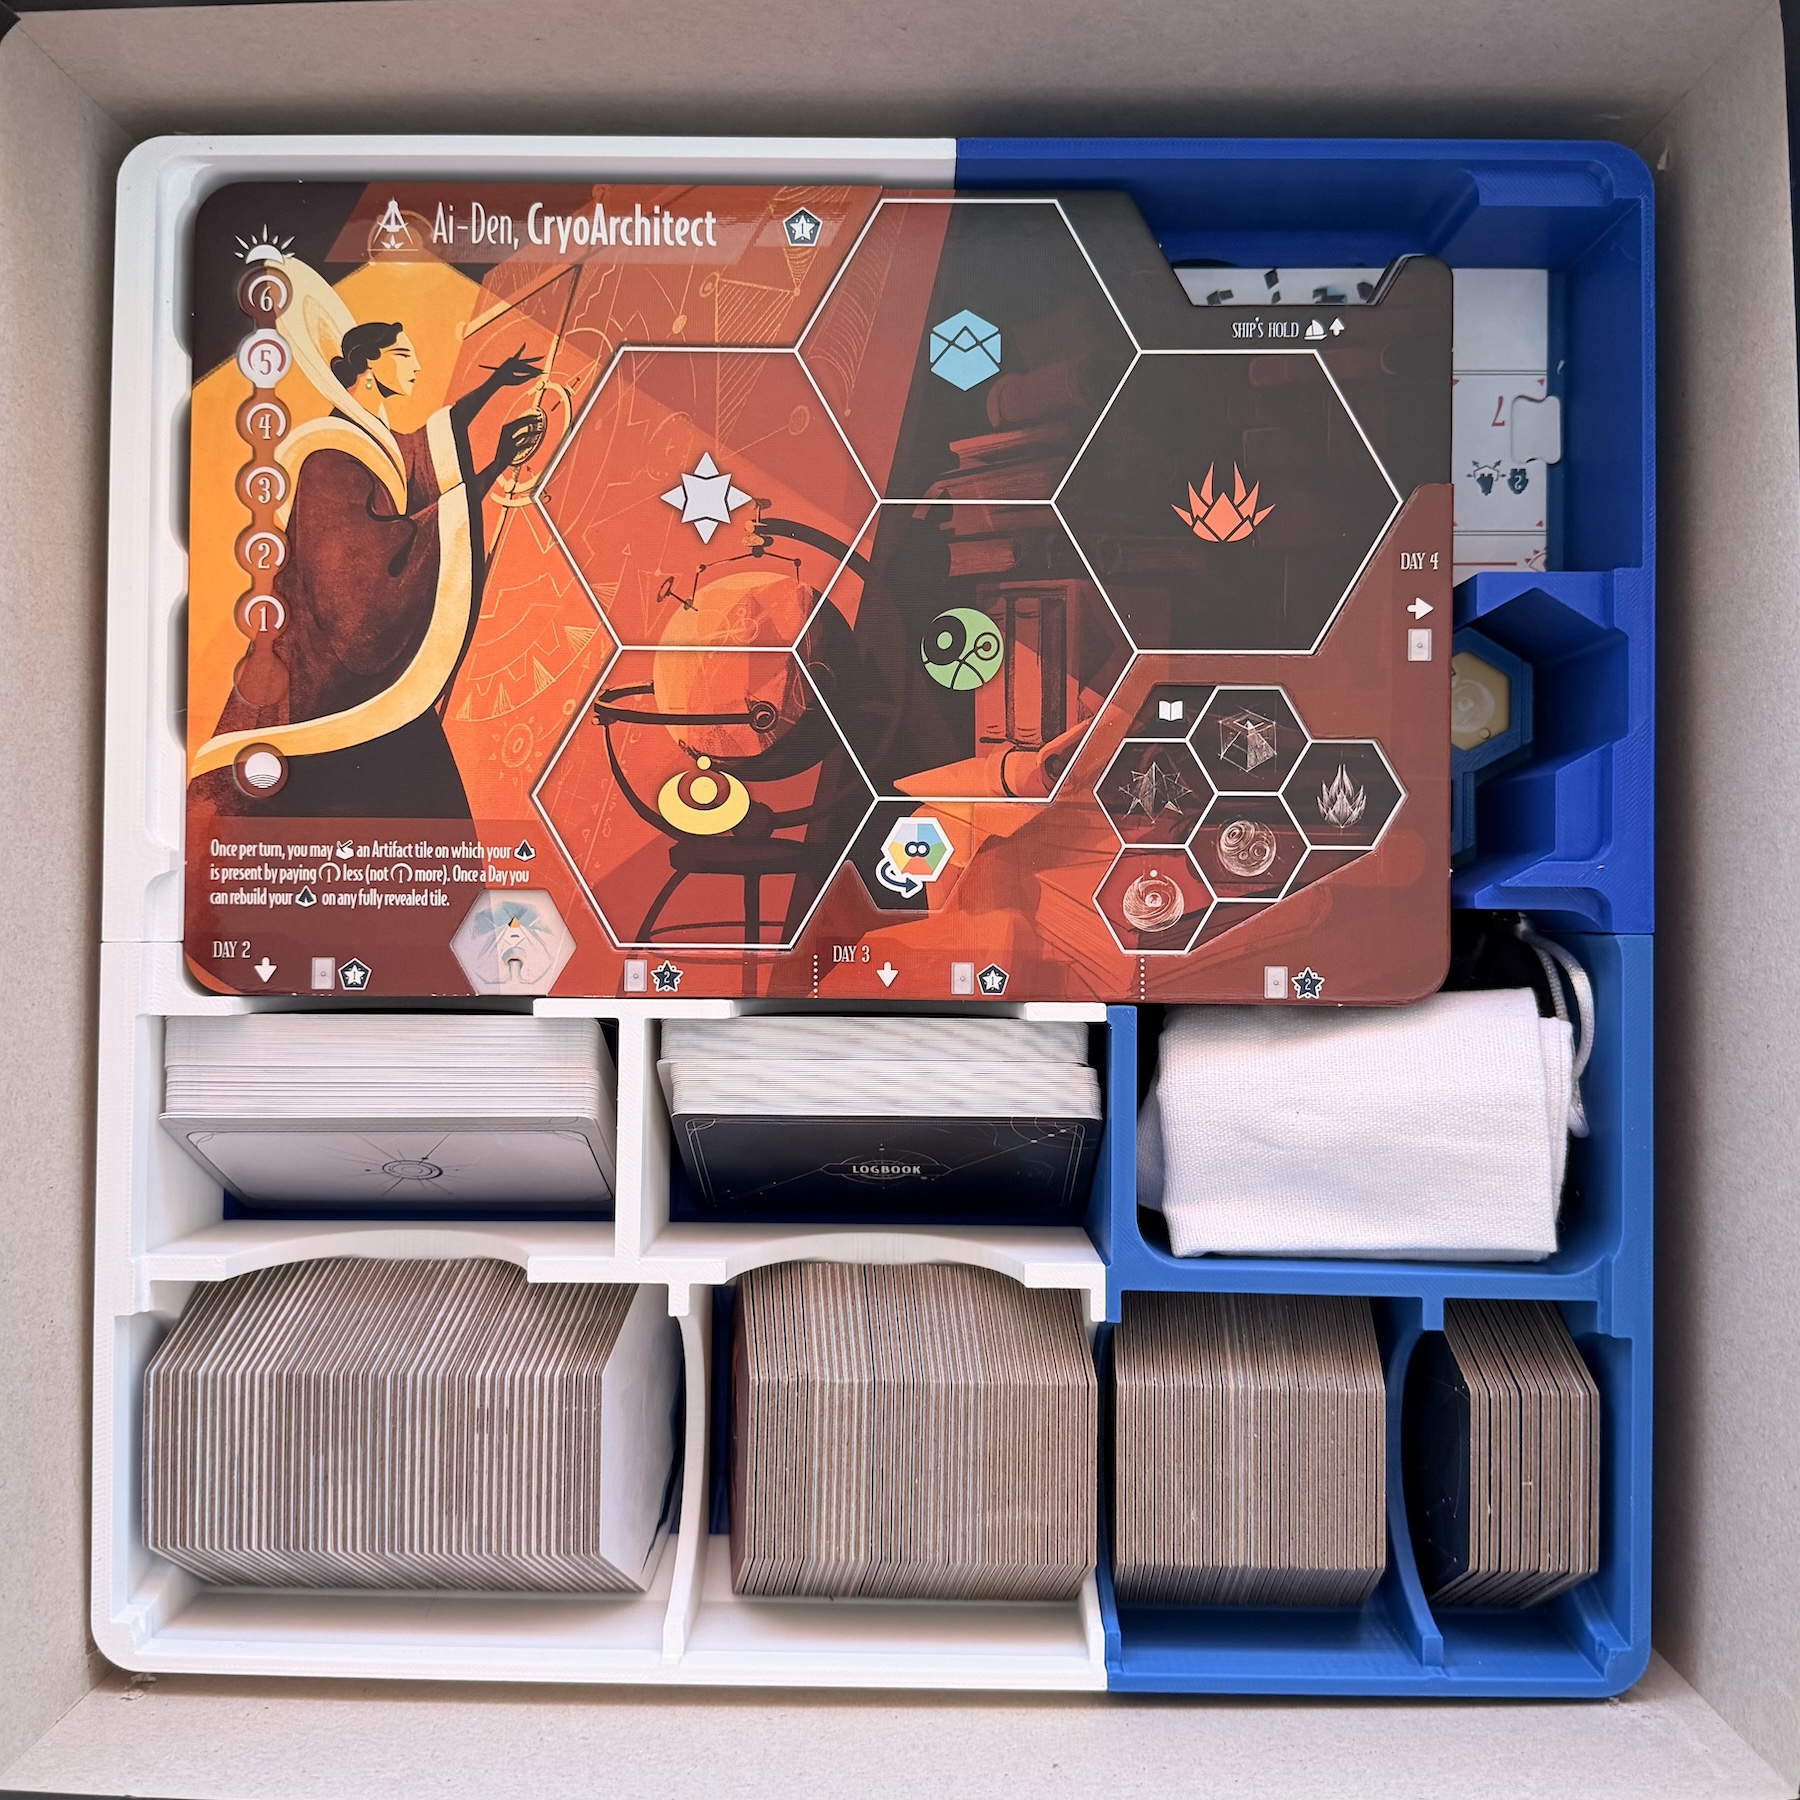
Alternatively, if you got the Collector Guild boards, those also all fit here if you replace the sheets with them (including RELICS boards).
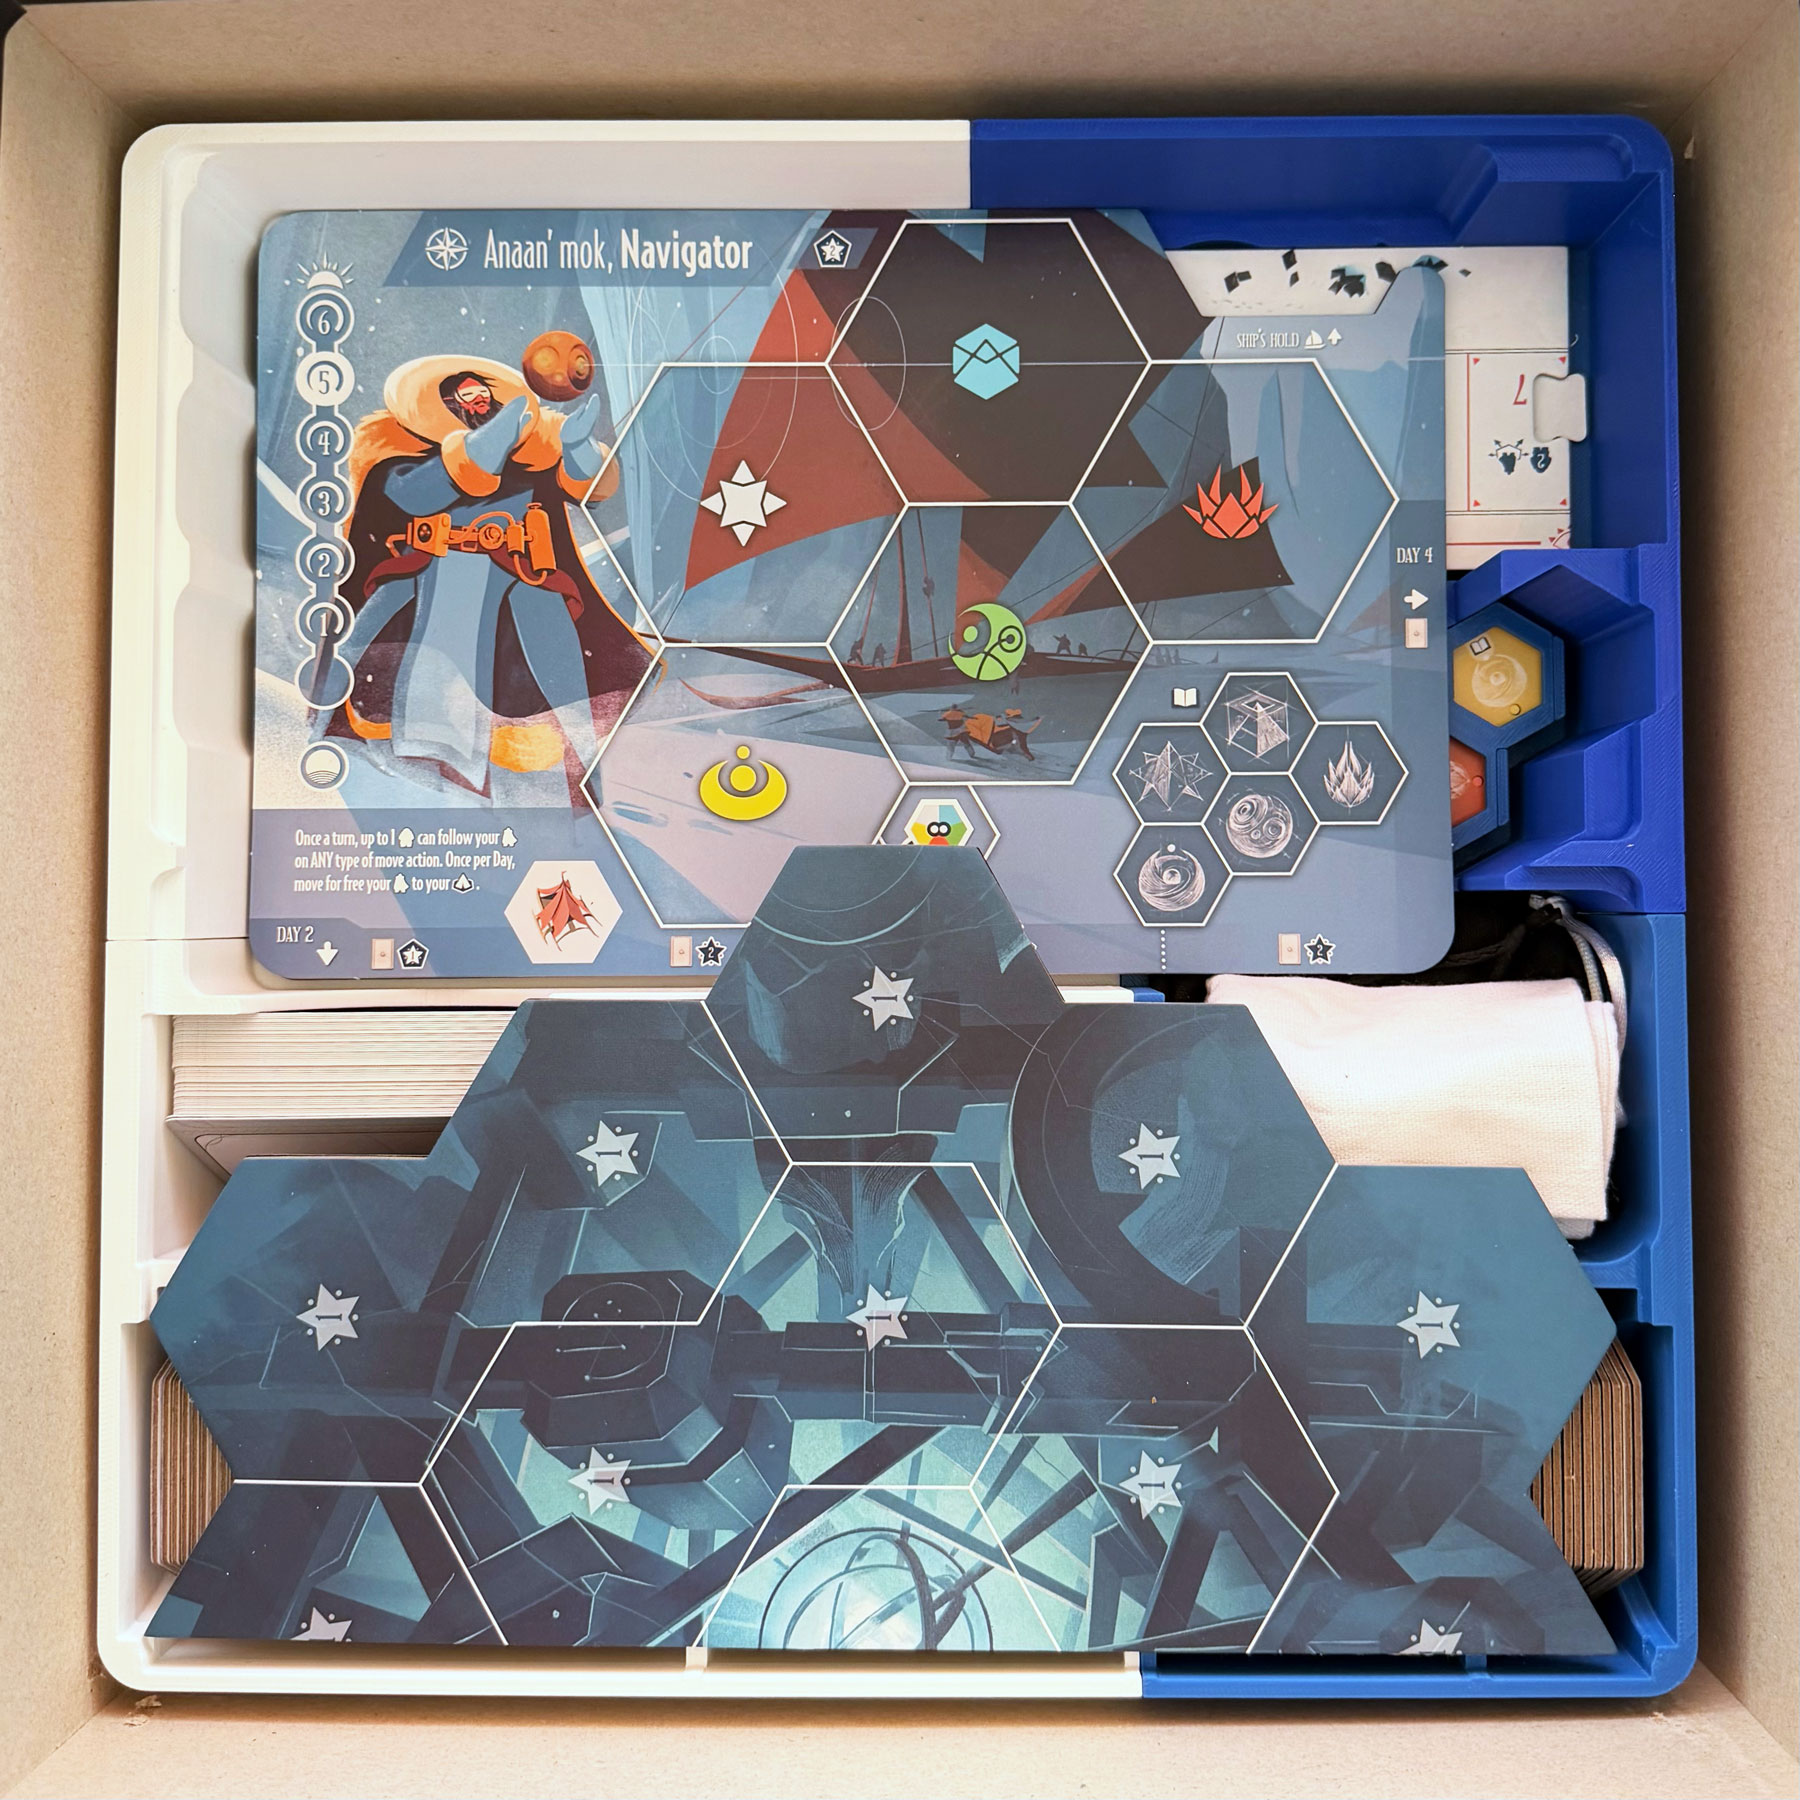
Next, place the folded Azulia layer in the indicated space.
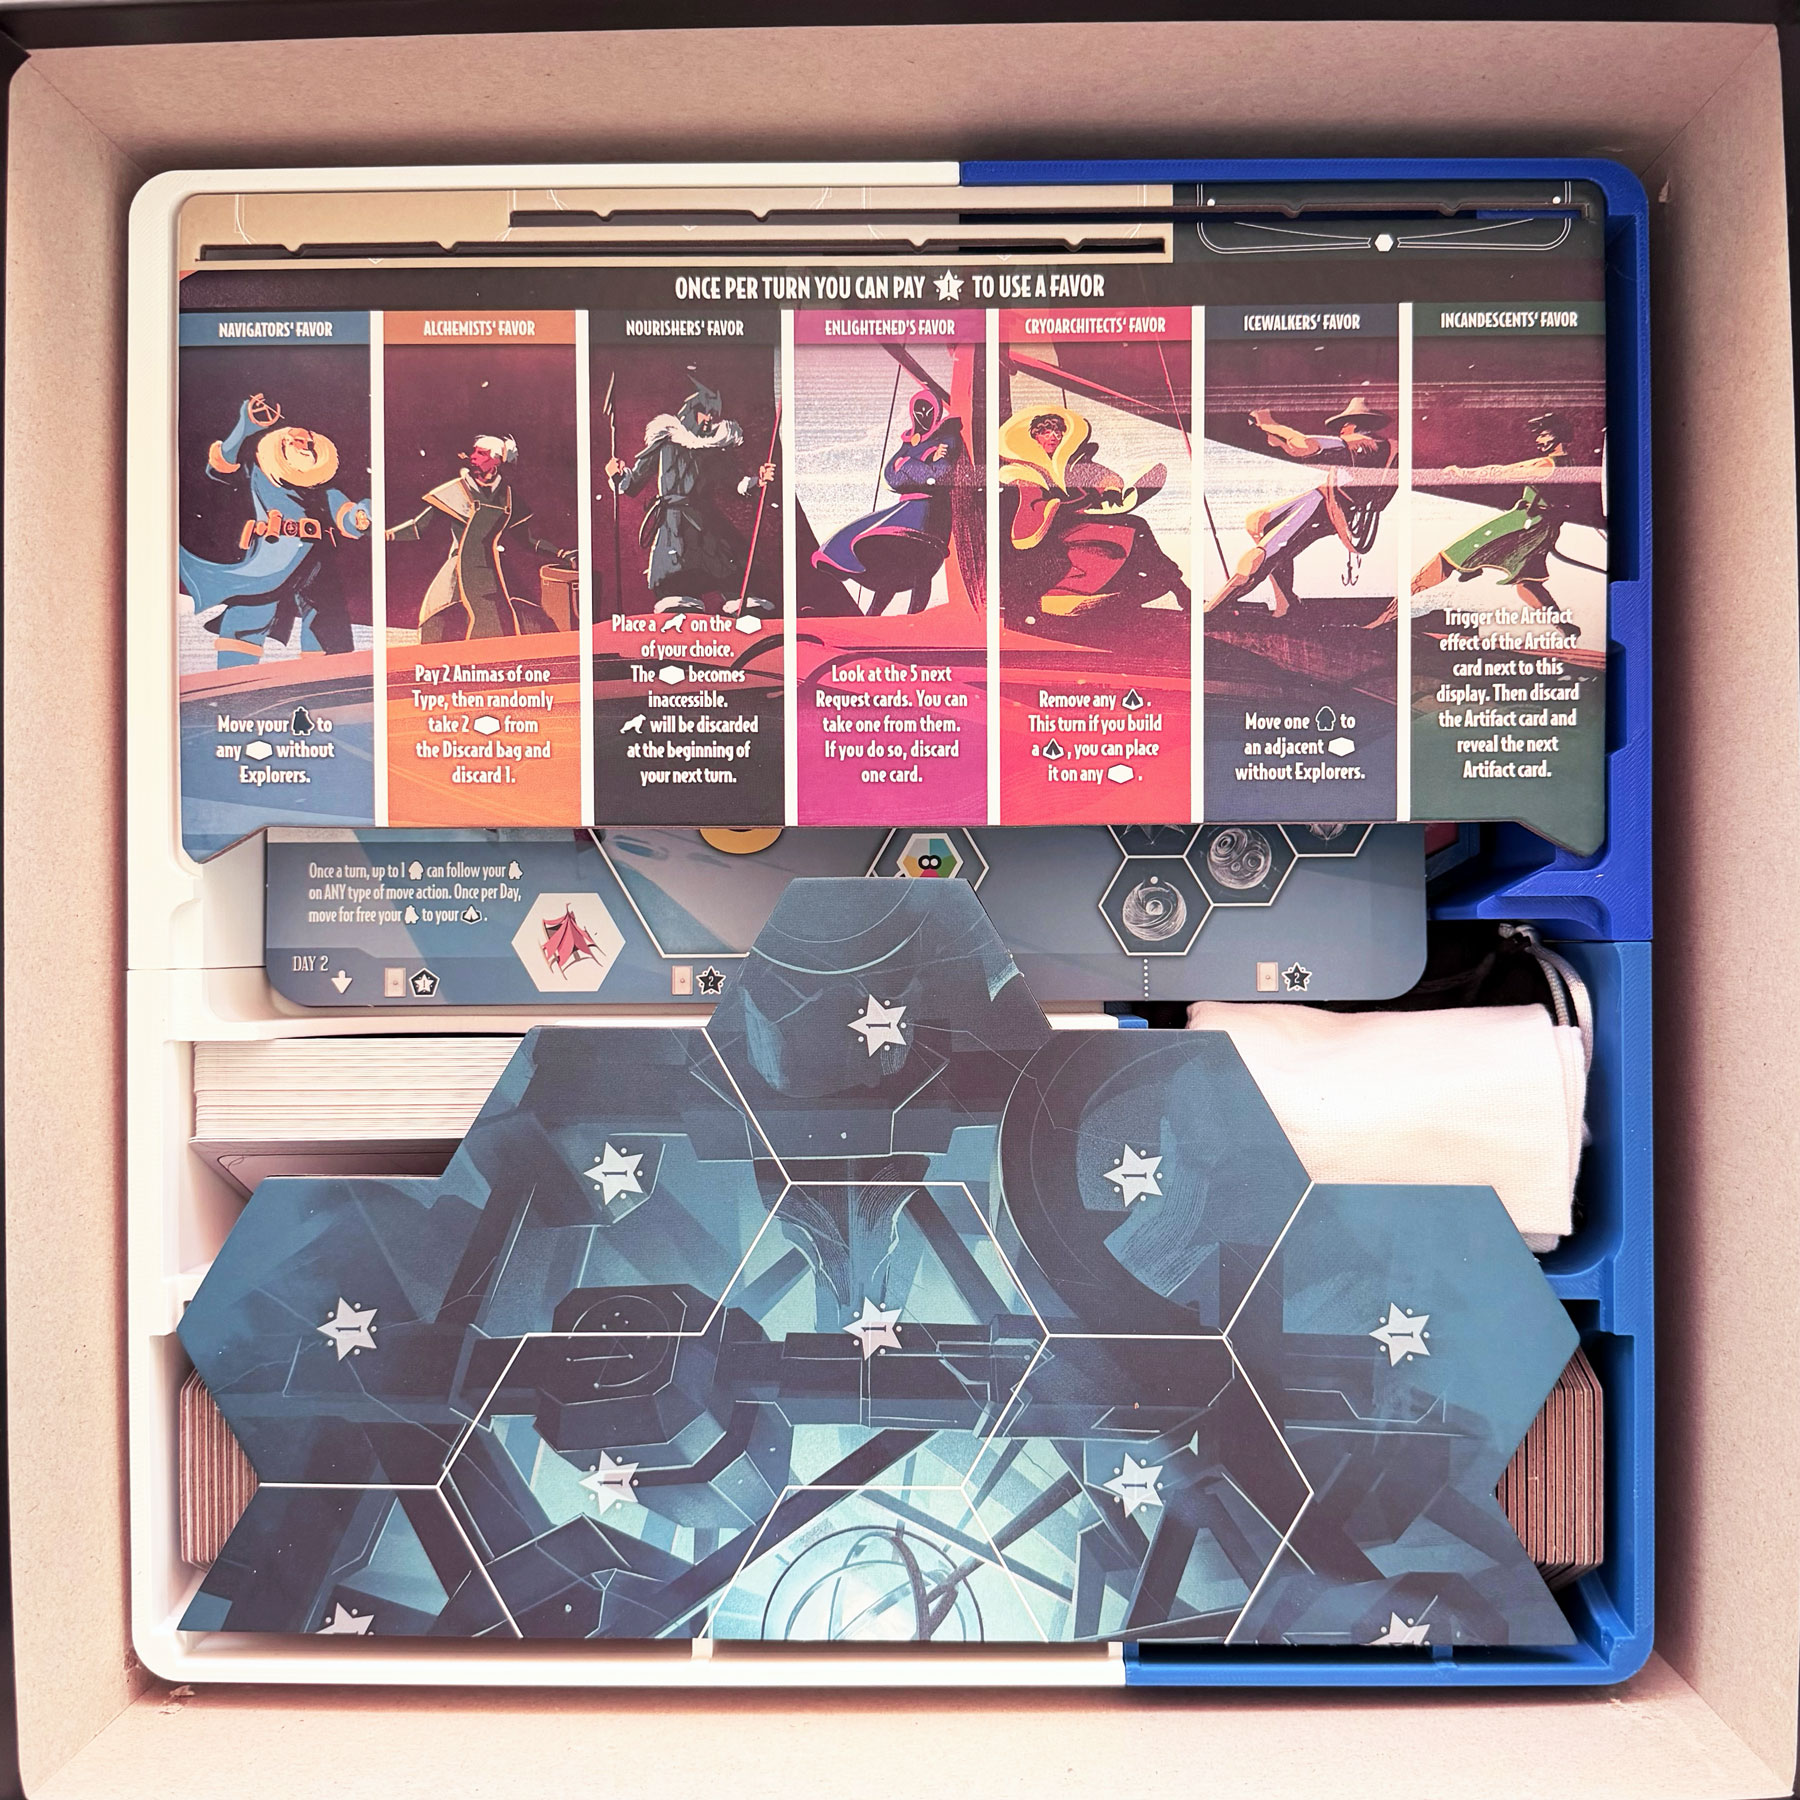
If you were an ICE Limited supporter, and received the Guild Favor display board, there is a nook reserved for it at the top.
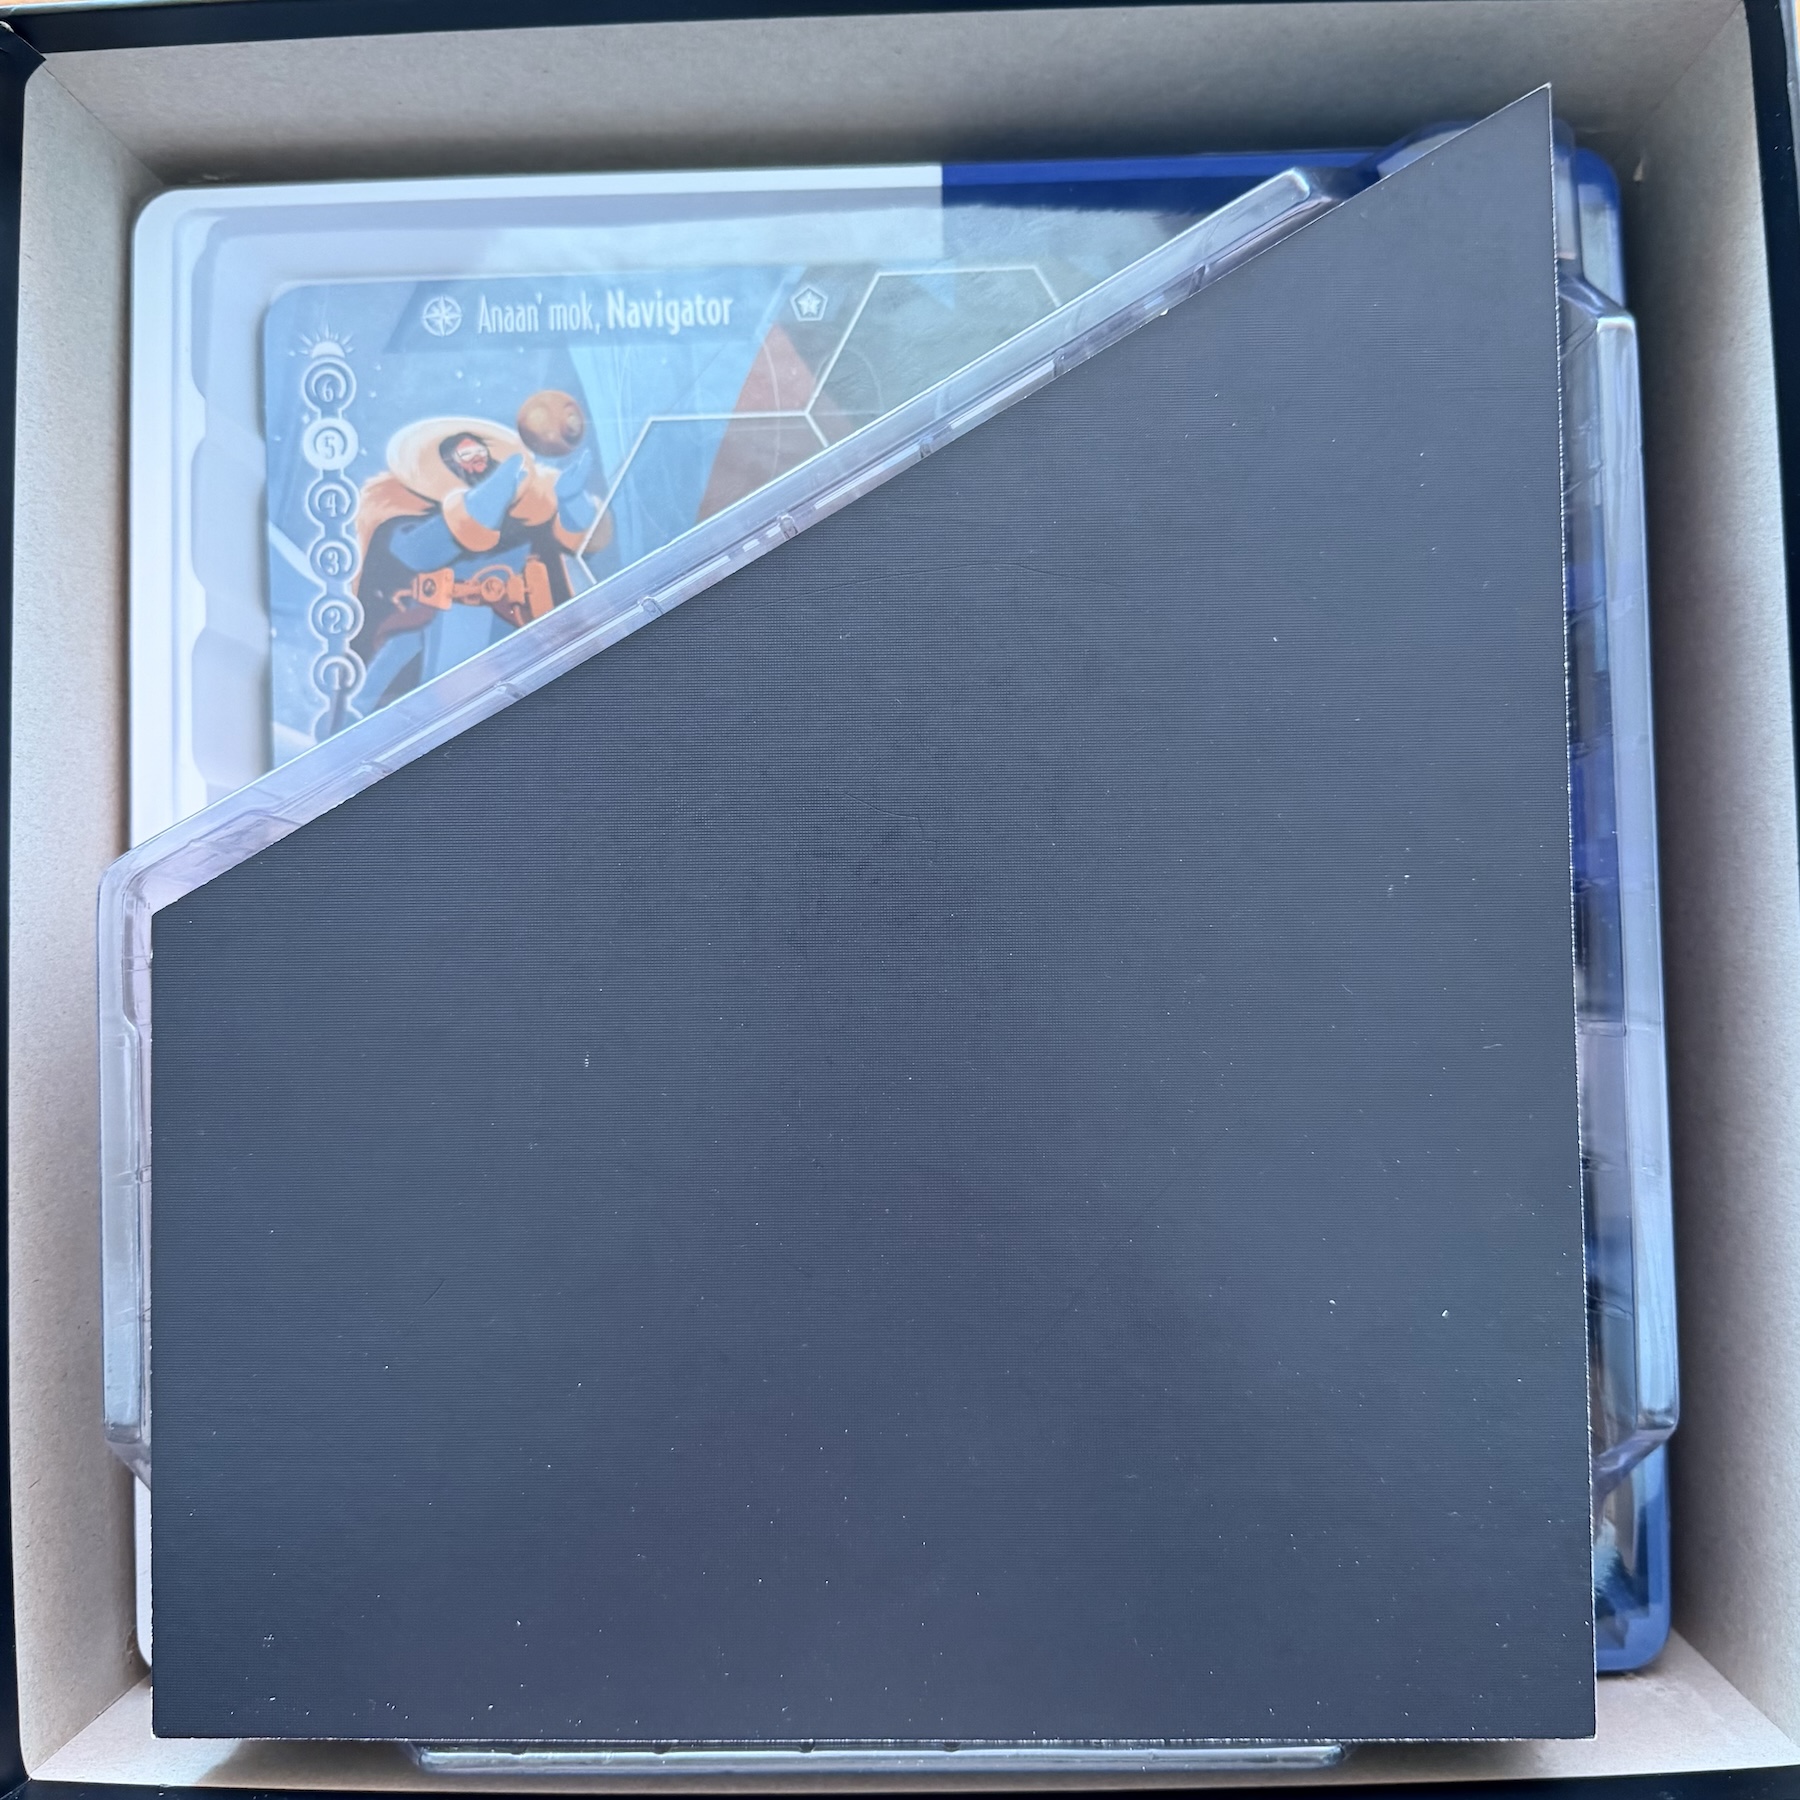
Now you can fit the original plastic lid from your First Edition box, along with the original 4-piece magnetic board, above everything else. It fits perfectly!
RELICS & RELICS TOKENS TRAYS
These have been designed to fit in the box! They will go right into the empty space (shown above) that’s next to the game board pieces.
Final images to come!
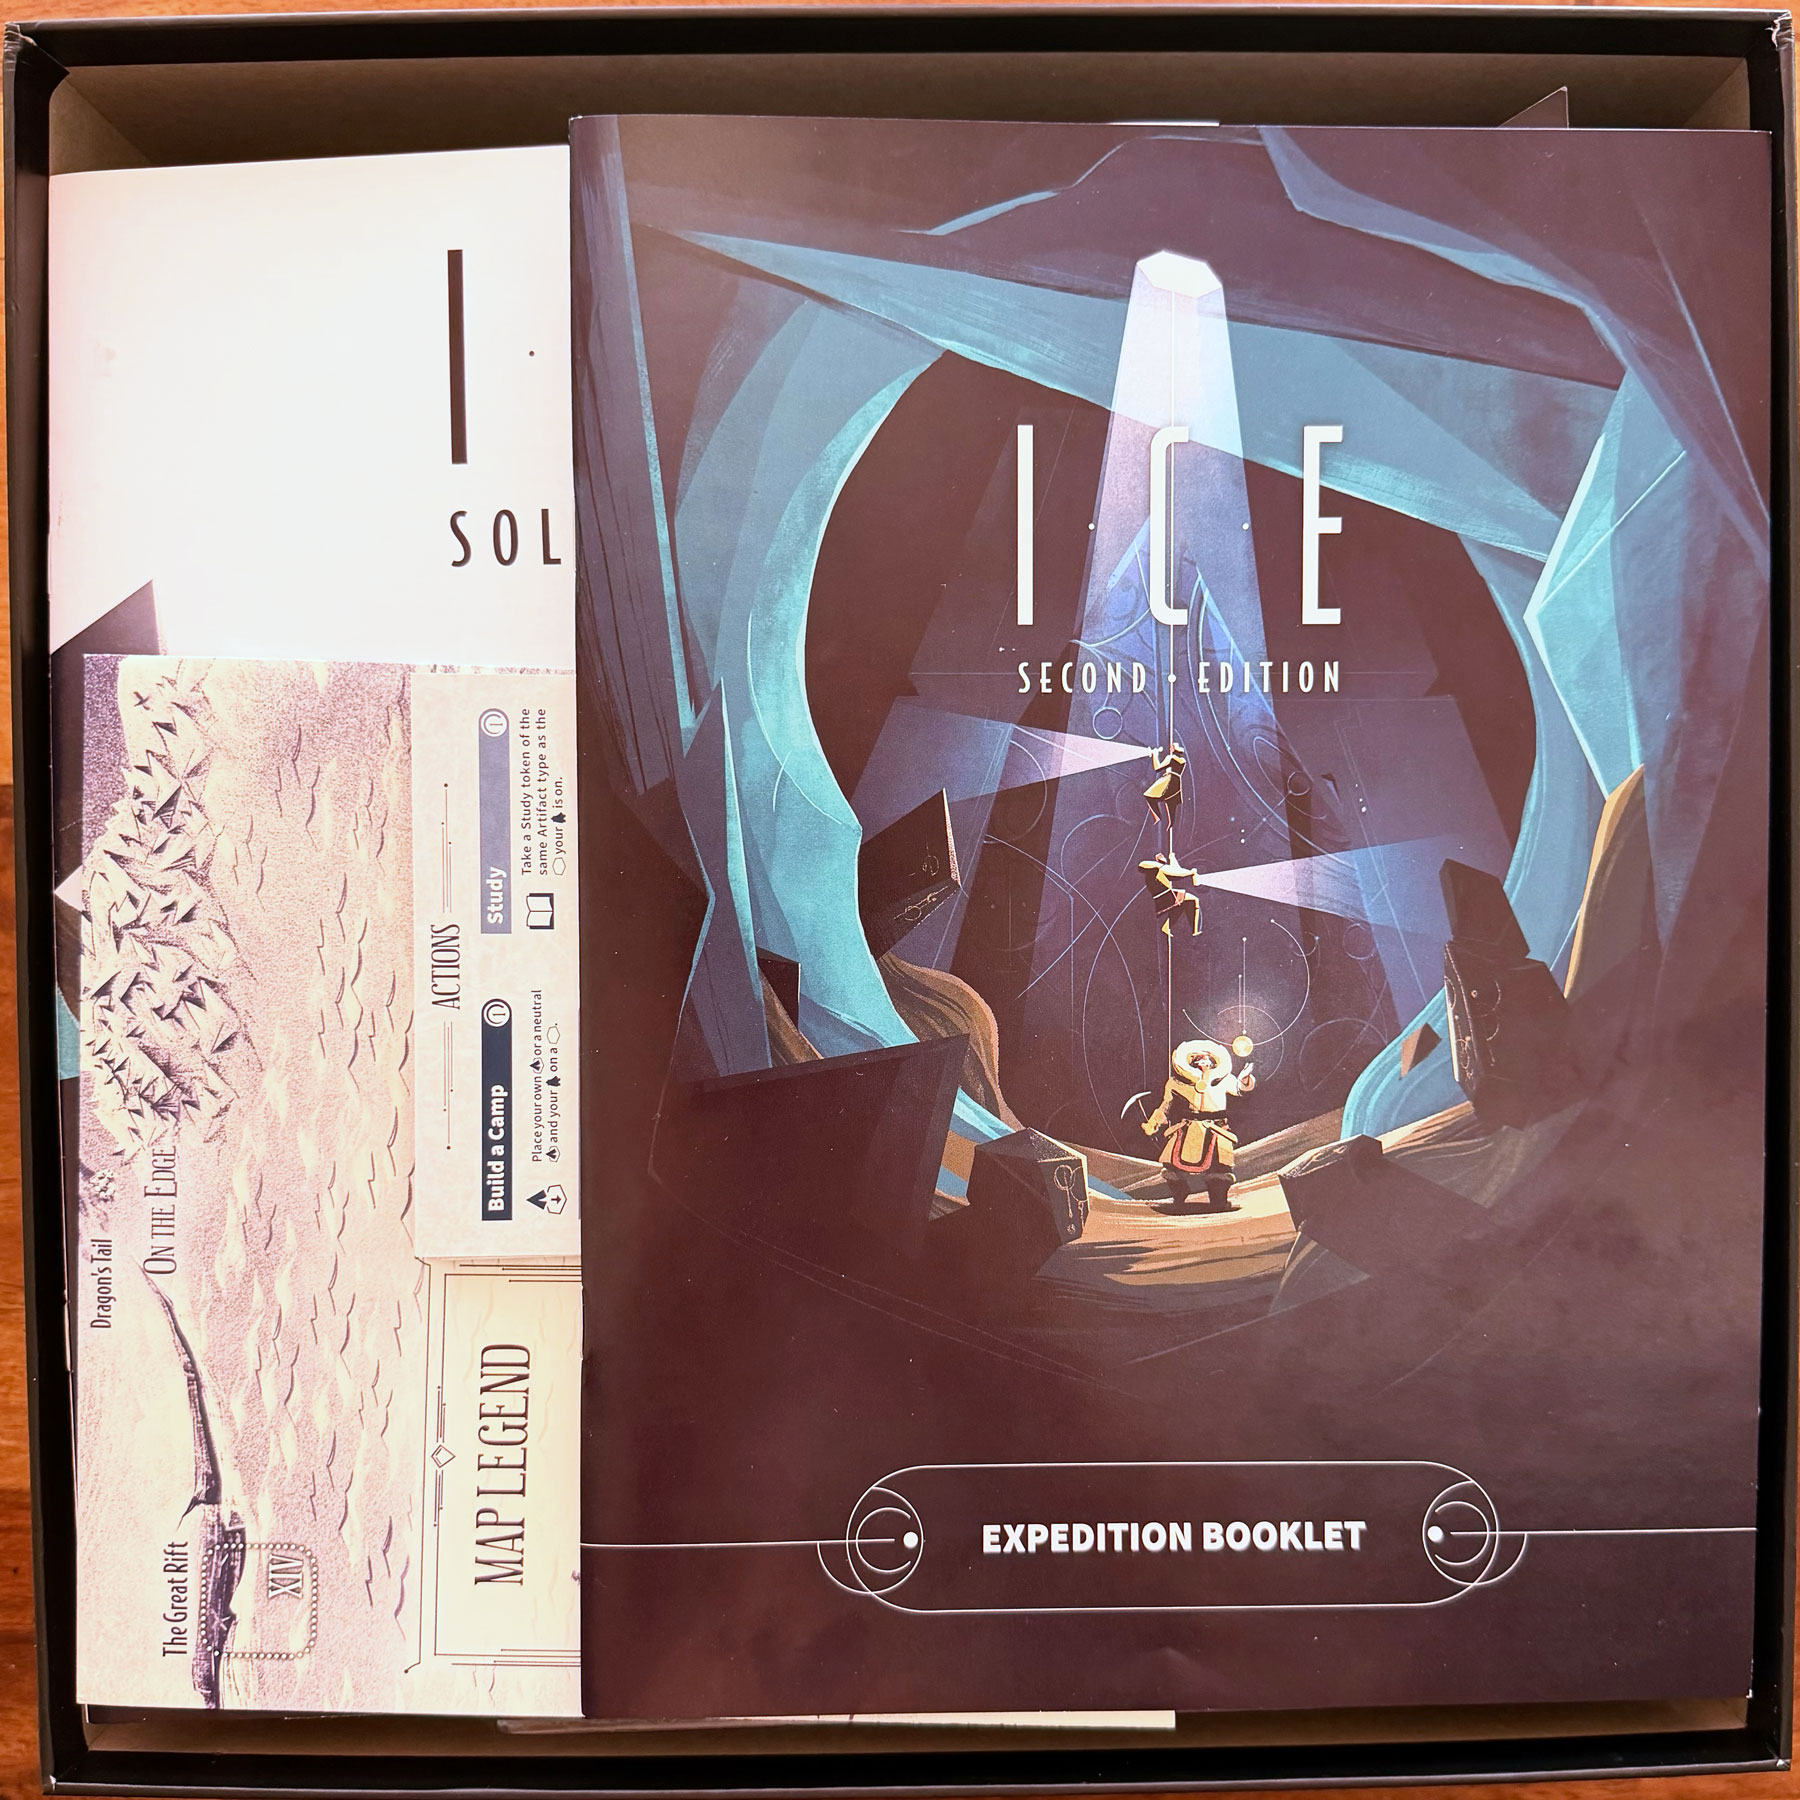
Finally, add the main Expedition Booklet. Solo rulebook, new ICE Map and player aids.
WHAT IF YOU DON’T HAVE A 3D PRINTER?
The original First Edition Insert actually has a lot of space for everything included in the Conversion Kit! The only issue are the Second Edition Guild boards, which have a new shape and are ever-so-slightly larger – so they are the only things that wouldn’t fit well. Using an X-acto knife, you can cut away the plastic parts of the insert that would prevent the new boards from going in. Use black tape to cover the holes that would be made, and to prevent any potential scratches.
Alternatively you can throw away the original insert altogether and just use other third party custom boxes to store all the components. There is plenty of space for ALL content (just not v1 AND v2 together).